
I tried Bon Appétit’s “Best Chicken Parmesan recipe” and here’s what happened.
Who doesn’t love Chicken Parmesan? Seriously. I’ve personally never met anyone. It is, by far, one of my absolute favorite foods. I love a crunchy cutlet smothered in a delicious, slightly sweet sauce and oozing all over with mozzarella cheese. Life is just that much better when I am eating a good chicken parm. However, since no restaurant seems to be able to make Chicken Parmesan very well, I have to make it myself.
I have been making chicken parmesan for as long as I can remember. It was certainly one of my first ever “go-to” meals and I made it on rotation. Turns out, for the past 20 or so years, I have been doing it all wrong. As it turns out, there’s a better recipe out there than mine and I cannot deny that- the truth in the taste!
Proper parmesan needs to be homemade, and made with love. There is no other option.
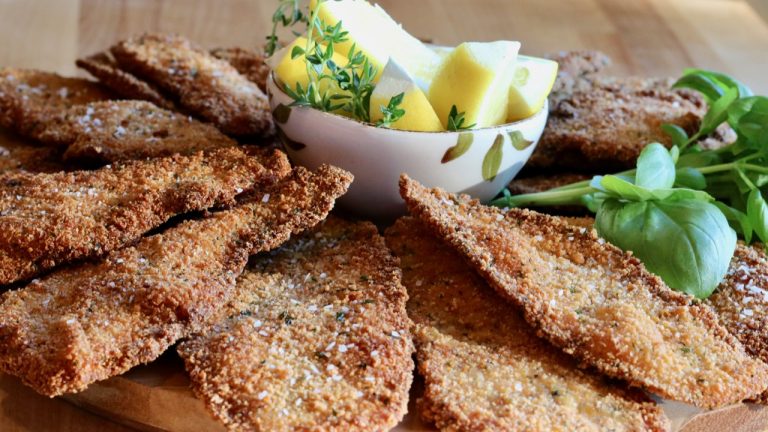
Shallow Fry
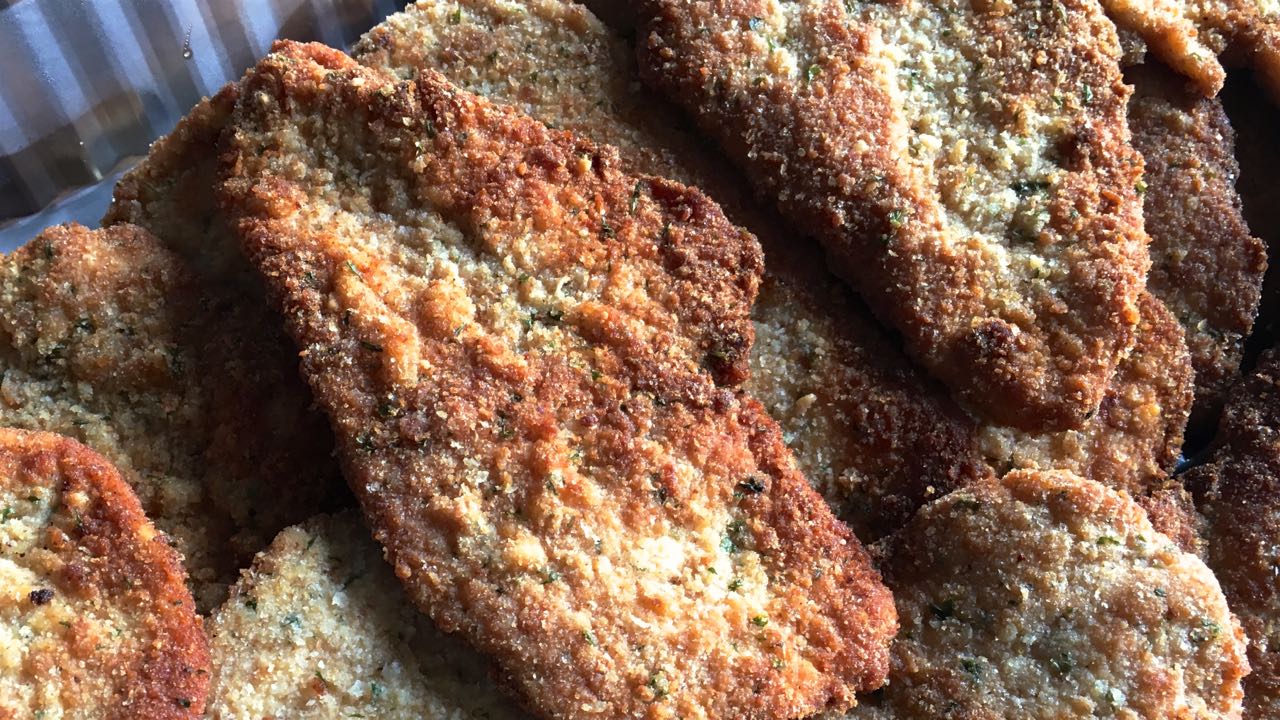
The “old way” of doing things. (Italian breadcrumbs in a shallow fry)
Deep Fry
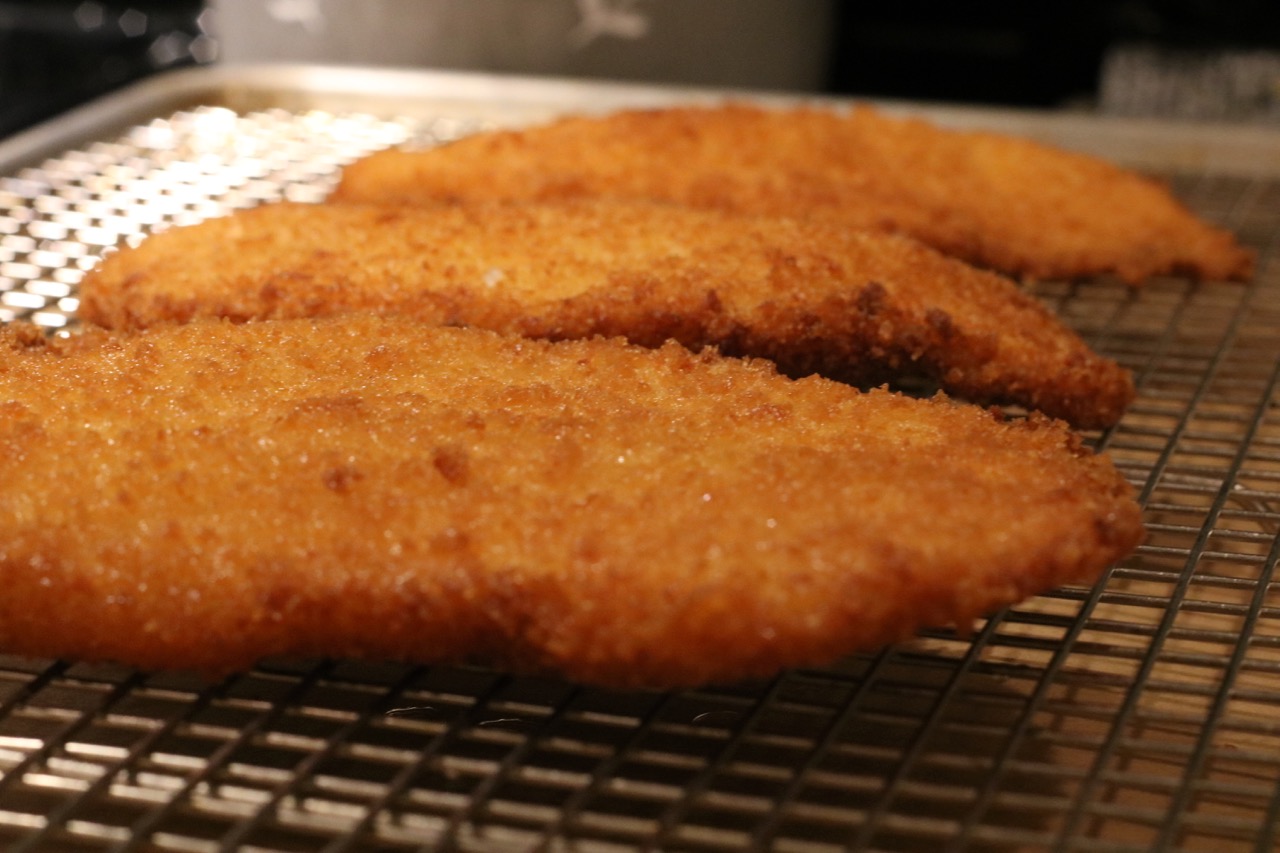
The “new” way of doing things (Panko breadcrumbs in a controlled deep fry)
How it all started:
This revelation all started when I listened to a podcast from Bon Appétit’s test kitchen about The Best Chicken Parm. (Yep, I listen to podcasts about food. The obsession is real.) It’s from their “BA’s Best” series. They basically tested every possible variation including different thicknesses (down to the quarter inch), all varieties of breadcrumbs, a variety of seasonings in the dredging station, different frying oils and depths, a wide variety of sauces including style and thickness, cheese variations and finally, how best to cook the final dish to bring it all together. It was seriously intense!
The series of tests resulted in a recipe that pretty much goes against everything I stand for (or stood for) in my approach to chicken parm. This was incredibly disturbing and equally intriguing. So I literally went to the store to gather all the ingredients and the next day, I followed the Bon Appétit recipe exactly. I was skeptical the entire time. It all felt so wrong!
The Old Chicken Parm
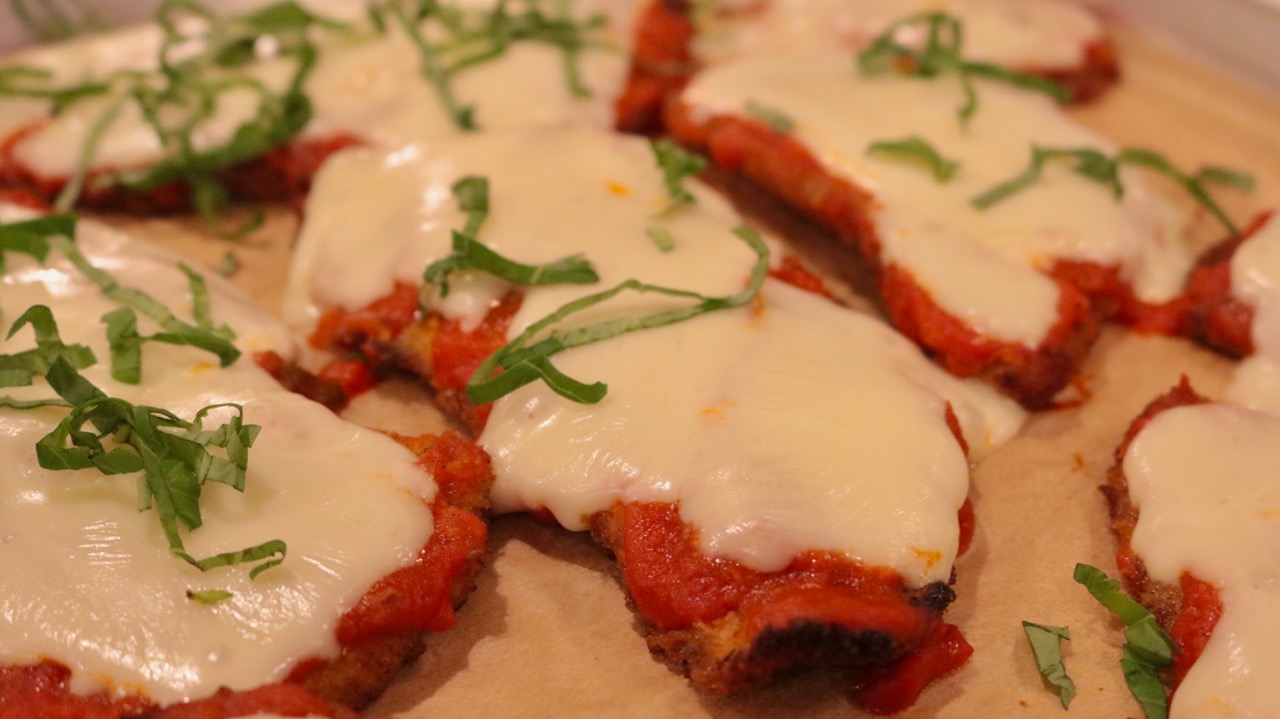
Looking back, my original version was too thin and a little bland and was just missing something.
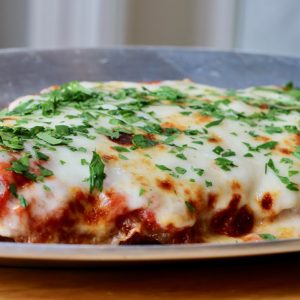
The New Chicken Parm
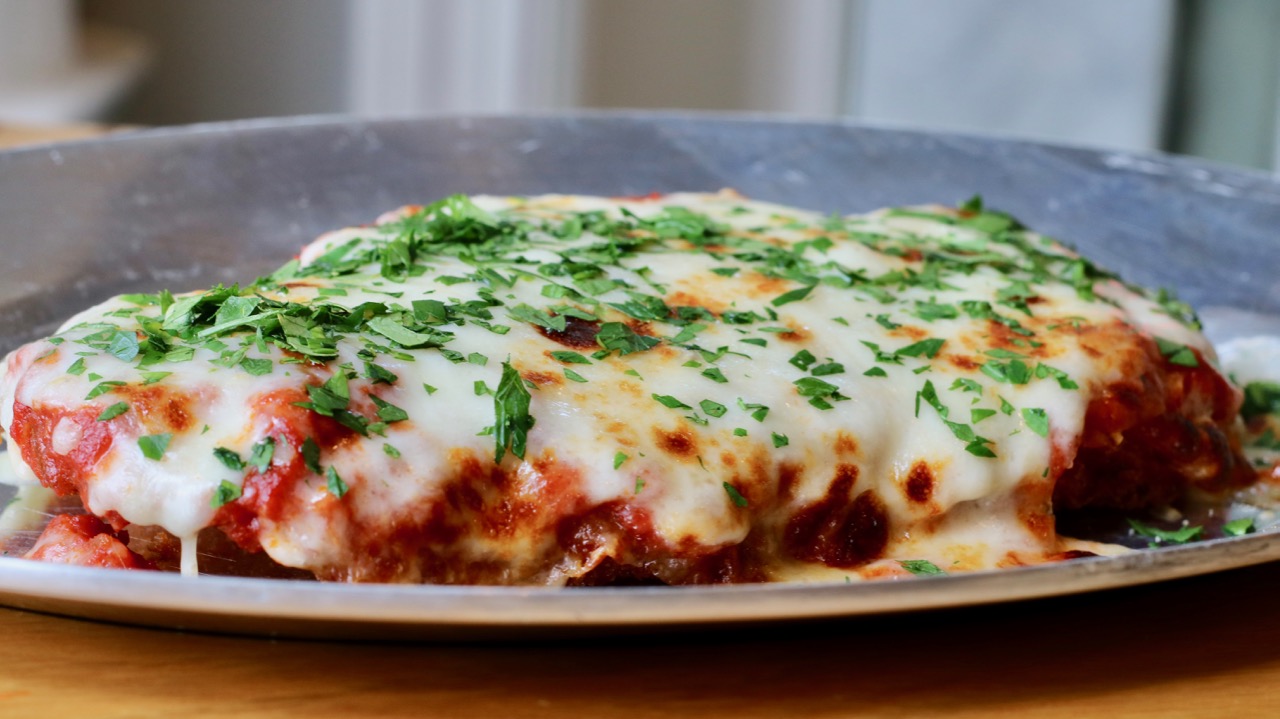
I think the results of the “New” Chicken parm speak for themselves! It’s parm perfection.
First Impressions
After spending the day making this recipe, my reaction to my first bite was something like “THIS. IS. F#@*ING AMAZING. HOW? How can this be so good?“ I couldn’t stop eating. I was pulled in by the depth of flavor and textures and it just kept pulling me back in for more.
Bon Appétit has done it. They found chicken parm perfection. It’s a totally different recipe and technique than I have prided myself on for 20+ years. But now, I’m part of the parm revolution.
Why it is the best
A few key things separate this parm from the rest of the pack.
- The number one difference is marinating the chicken in EVOO, lemon juice, garlic and salt before dredging in flour, egg and breadcrumbs. I would have never thought to marinate the chicken and then dredge it directly into the flour before this recipe. Never. But it makes all the difference.
- Cutlet thickness. I have always, always believed in the thinest cutlet possible. But using a cutlet 1/3 inch thick results in a much juicier cutlet. This is one area where I’m not totally sold yet. But it was damn juicy!
- Next, they call for panko and I’ve always been an advocate for classic Italian seasoned breadcrumbs. The panko really did create an incredible crunch that held up to the sauce. It felt wrong doing it, and frankly, is a lot more work to get the panko to adhere evenly, but it was worth it.
- Finally, the next significant difference was the frying. I’ve always believed in a shallow pan fry for my cutlets. Bon Appetite on the other hand, went with the deep fry approach using enough oil in a dutch oven to ensure the cutlets floated, and didn’t make contact with the bottom of the pot, which prevents uneven browning. The result was a perfectly even golden brown crust.
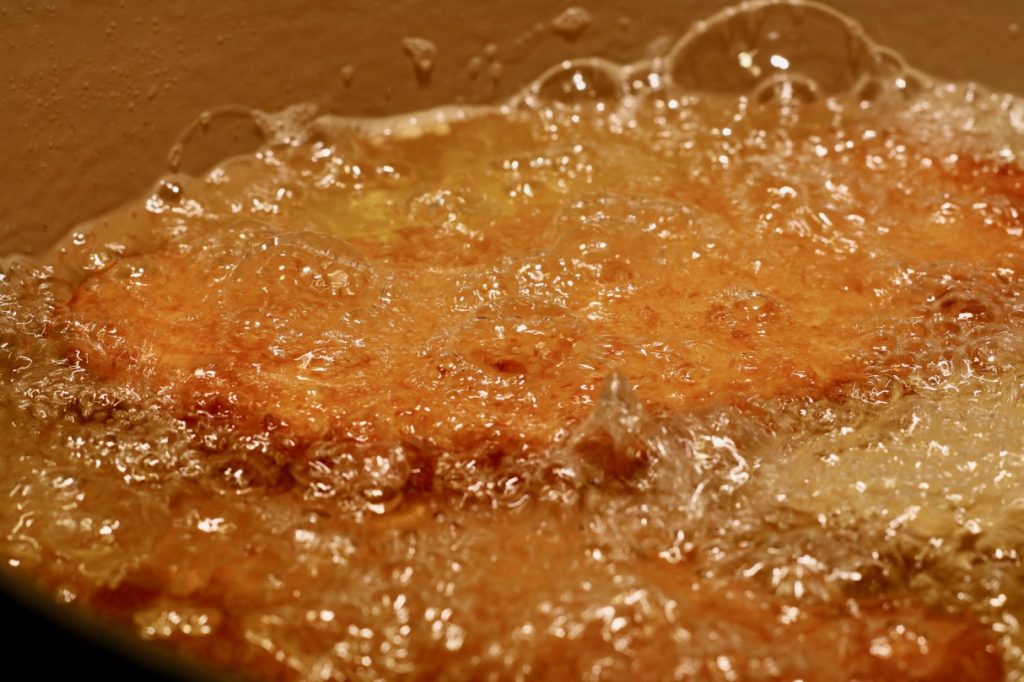
Frying in a dutch oven is the only way to go
This recipe is a little bit of work. But the good news is you can do several steps in advance, such as make the sauce 1-2 days before & grate cheese the day before. And you can even bread the cutlets a few hours in advance- they need to sit for at least an hour after breading anyway, so it’s better to do it few hours earlier, clean up the mess and then all you need to do is fry and assemble when its time to eat. My advise is to read the entire recipe & break it down into manageable steps for yourself so it’s not an all day affair. Once the idea of breaking it down into steps “clicks” then it’s really not a big deal at all.
Feaster’s Tip:
In the original recipe, you are instructed to butterfly the chicken and pound it producing one very large piece of chicken. I think it makes it way too big and much harder to work with. It’s the one step in the recipe I really do not agree with. I did butterfly one to try it, but I decided to stick to halving the cutlets lengthwise, producing two equal breasts and then pounding them to 1/3 inch thick. I found it not only easier to work with, but more enjoyable to eat.
Pro Tips:
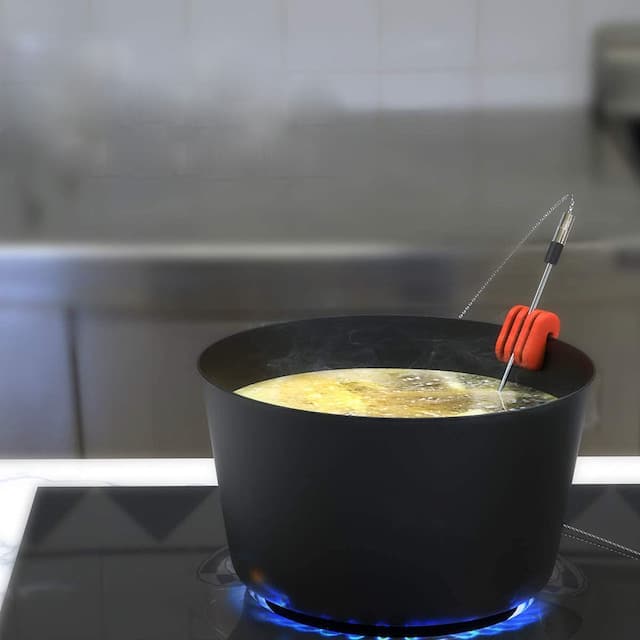
I am a mega fan of probe thermometers and in this case, using a probe thermometer to monitor and maintain the oil while frying the cutlets is really helpful, and will allow you to produce absolutely perfect cutlets. I use the Thermoworks Dot with a probe that is secured to the side of the pot with this handy gadget. I never fry ANYTHING without it!
The Best Chicken Parm
Ingredients
Tomato Sauce
- 1/3 cup cup extra-virgin olive oil
- 1 medium onion, finely chopped
- 8 garlic cloves, crushed
- 2 Tbsp double-concentrated tomato paste
- 1/2 – 3/4 tsp tsp. crushed red pepper flakes
- 2 28-oz. cans tomato purée
- 2 tsp Diamond Crystal or 1¼ tsp. kosher salt
- 1 tsp sugar
Chicken
- 6 skinless boneless chicken breasts (about 3 lb. total)
- 5 garlic cloves finely grated
- ⅓ cup fresh lemon juice
- ¼ cup extra-virgin olive oil
- 1½ tsp. Diamond Crystal or 1 tsp. Morton kosher salt plus more
- 4 large eggs
- 1 Tbsp. garlic powder
- 1 Tbsp. onion powder
- 4 cups panko Japanese breadcrumbs
- 2 cups all-purpose flour
- 12 oz. low-moisture mozzarella (Recommended is Polly-o and be sure to shred it yourself!)
- 8 oz. grated Parmesan
- canola oil for frying; 3–4 cups
- 2 Tbsp. finely chopped parsley
Instructions
Make the Sauce (The sauce can be made up to 2 days in advance.)
- Heat oil in a large Dutch oven or other heavy pot over medium. Add onion and cook, stirring often, until softened but not browned, about 10 minutes. (You should lower the temperature if the onions start to brown faster than becoming translucent.)
- Once the onions are soft, add the garlic and sauté for one minute.
- Add tomato paste and red pepper flakes and cook, stirring, until paste is slightly darkened in color (it should start to fry in the oil), about 1 minute.
- Add tomato purée, salt, and sugar, and bring to a simmer. Partially cover pot with a lid (to avoid splattering), reduce heat so sauce is at a very low simmer, and cook, stirring occasionally, until slightly thickened, 40–50 minutes.
Prep the chicken
- Place each chicken breast between 2 sheets of wax paper or plastic wrap. Pound the chicken until ⅓” thick. (Break out a ruler!)
- Combine garlic, lemon juice, and olive oil in a large baking dish. Season chicken cutlets all over with salt (about ¾ tsp. Diamond Crystal or ½ tsp. Morton kosher salt per cutlet). Add to marinade and turn to coat. Let marinate 20-40 minutes. (The lemon juice will turn the flesh opaque, but that’s nothing to worry about.)
Set up Dredging Station & prep the cheese
- Grate the mozzarella on the large holes of a box grater into a medium bowl; add Parmesan and toss to combine. (do not use pre-shredded cheese. It contains ingredients that keep it from sticking together, but also prevent gooey melting.) Place in refrigerator until ready to use. This can be done one day in advance.
- Whisk eggs, garlic powder, onion powder, ½ tsp. Diamond Crystal or Morton kosher salt, and 2 Tbsp. water in a large shallow bowl (cake pans or pie plates work great).
- Place panko in another large shallow bowl. (if the panko flakes are large, crush them a bit with a meat mallet or bottom of pan). Add flour to a third bowl.
Bread the chicken
- Remove the chicken from the marinade and pat dry on paper towel. Working with 1 cutlet at a time, dredge cutlets in flour, knocking off excess. Then dip into egg wash, letting excess drip back into bowl. Dredge in panko, pressing firmly to adhere, ensuring no bare spots remain. Gently shake off excess and place cutlets on a rimmed baking sheet. Chill at least 30 minutes and up to 8 hours.
Fry the Cutlets
- Set a wire rack inside a second large rimmed baking sheet and set aside near your frying station.
- Pour canola oil into a large high-sided heavy pot, such as a dutch oven, to come about 2” up the sides. Heat over medium until an instant-read thermometer registers 400°F. Working in batches to avoid crowding the pan and returning oil to 400°F after each batch, very carefully lower cutlets into skillet with tongs and cook until deep golden brown, about 2 minutes per side. (you will need to adjust the temperature throughout the process. If you see the breadcrumbs burning or getting too dark, the temperature should be lowered.) Transfer cutlets to prepared rack; season with a sprinkle of salt.
Assemble, Broil & Serve
- Heat broiler. Arrange cutlets side by side on a sheet pan. (Do not use parchment paper because they are going under the broiler.) Generously spoon some sauce over each cutlet (you want to mostly cover them but allow some corners and edges to remain uncovered).
- Cover cutlets with cheese mixture (again, leaving some of those crispy edges uncovered). Broil until cheese is melted, bubbling, and browned in spots, about 4 minutes. Remove chicken from broiler. Let cool slightly and sprinkle with parsley.
- Serve with extra sauce on the side.
Notes
- Make the sauce up to 2 days in advance.
- Shred the cheese 1 day in advance
- Clean and pound the chicken 1 day in advance.


2 thoughts on “The Best Chicken Parmesan Recipe”
This contained some excellent tips and tools.
This was my most successful attempt at making chicken parm! The combo of the cheeses was delicious and the trick of using the Panko breadcrumbs really did keep the chicken crispy. I appreciated the tips along the way. Would definitely make it on a weekend next time because the prep work takes some time(or prep ahead as suggested in the recipe)!