How to make gravy ahead of time and why you should
Crafting the perfect gravy is an art of flavors and textures. It requires several steps, lots of attention and respect but the end result crowns your holiday roast with unparalleled warmth and depth of flavor. Learning the basics of a gravy recipe is the key to a lifetime of good gravy oozing over every roast that adorns your table.
The basics of gravy
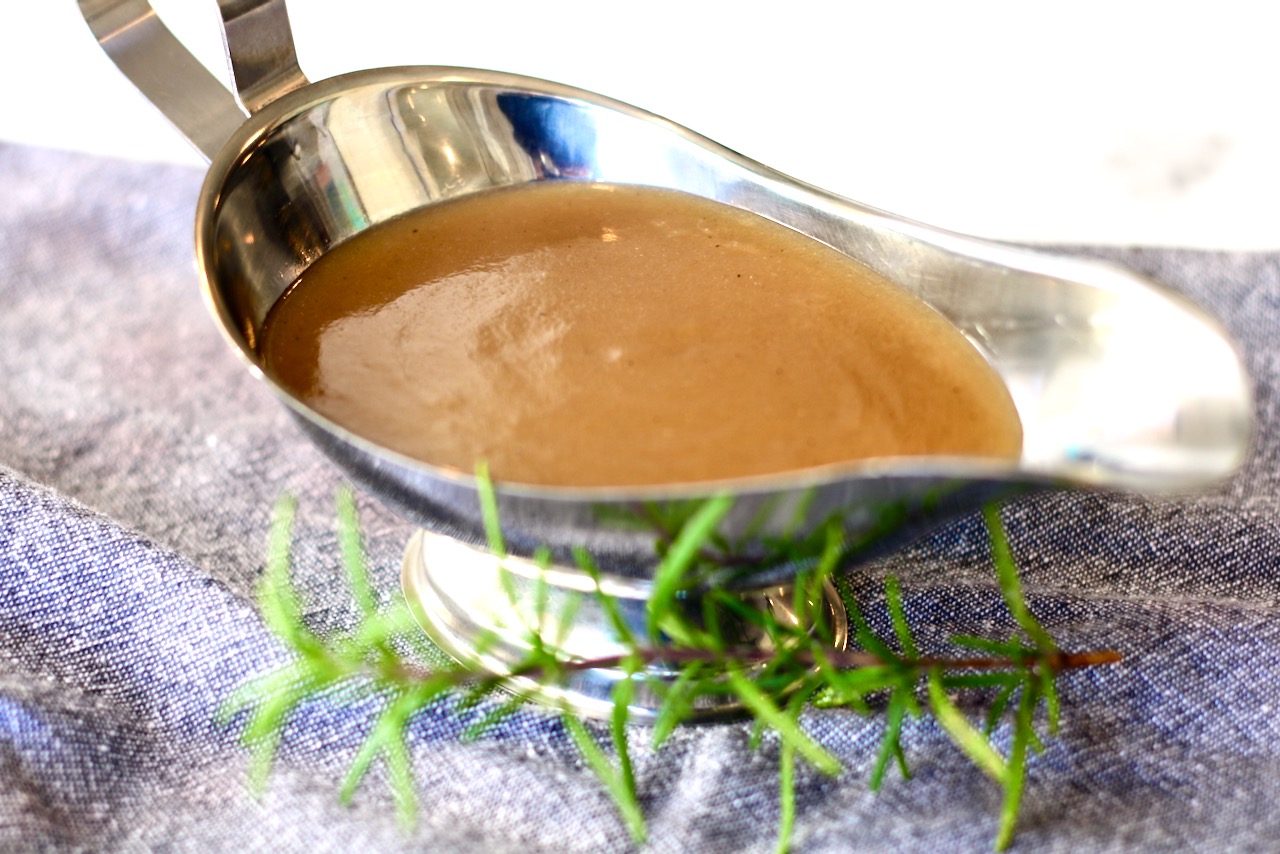
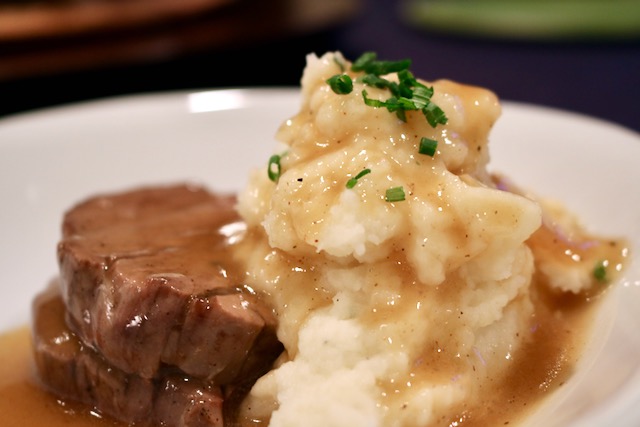
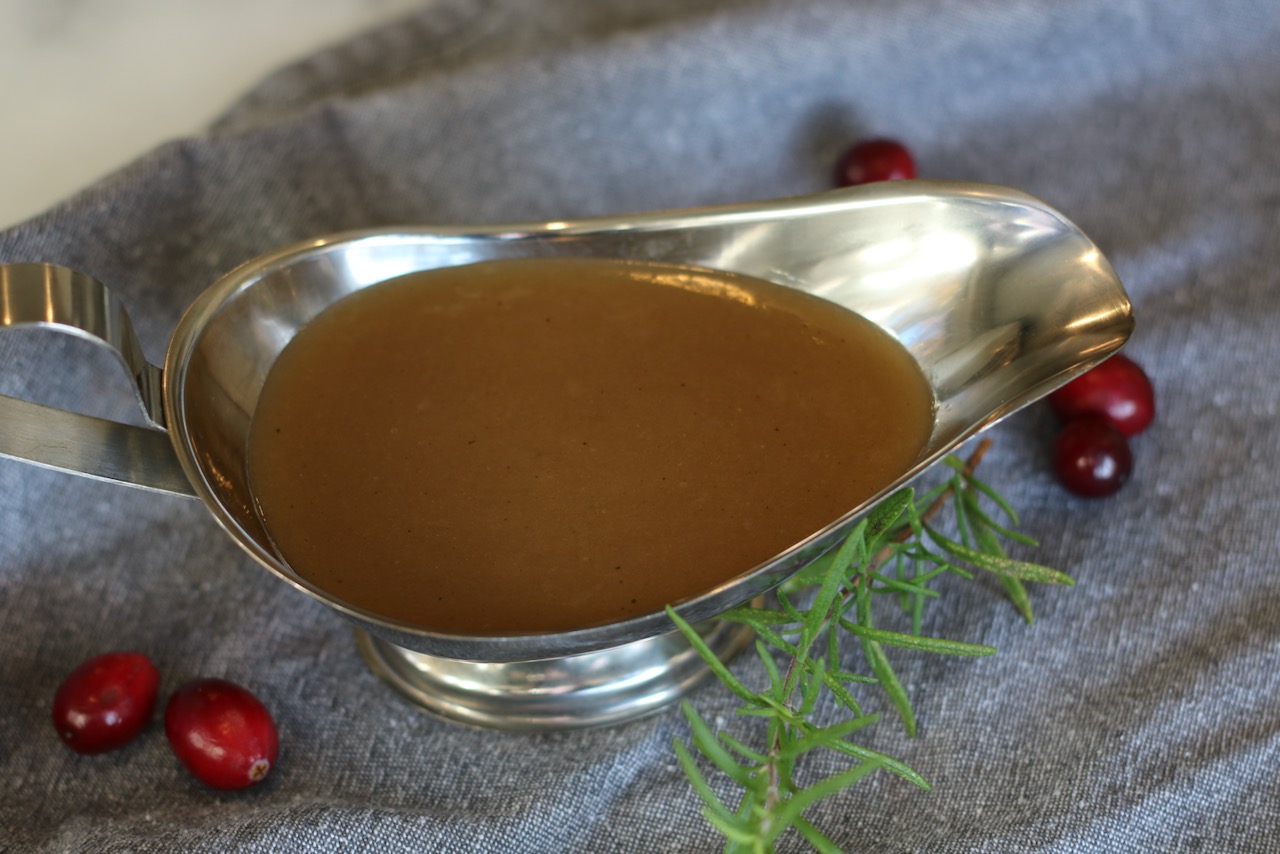
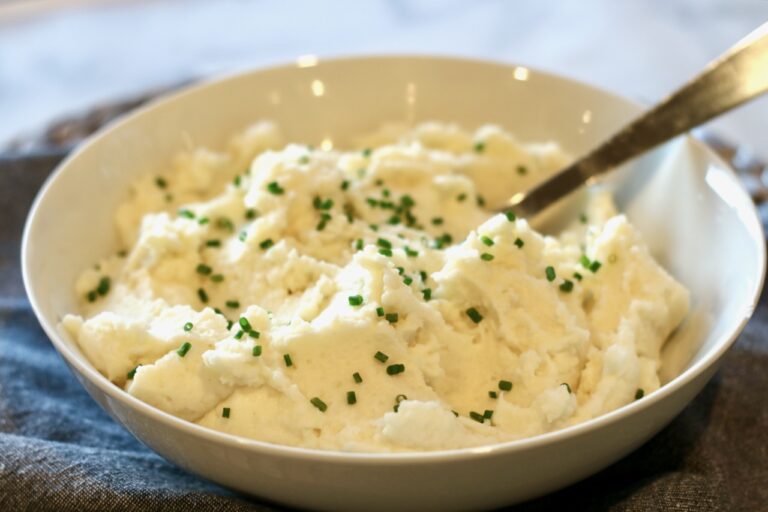
To make gravy, you begin by collecting the flavorful drippings from the roasted turkey (or chicken) and then separating the fat from the drippings. Once separated, you combine the dripping with broth and gradually whisk in a thickening agent such as flour or cornstarch. Then you continually stir until the mixture turns into a thick, rich, velvety consistency. Season to taste.
The Problem with Gravy
Imagine this- you have a turkey to carve, potatoes to mash, vegetables to plate, amongst the pile of dishes, pots and pans piling up in your sink…. and now you have to stop and dedicate your full attention for anywhere from 7-10 minutes to make fresh gravy (and actually get it to the table hot.) This is a legitimate challenge. This is why so many people turn to jarred and dehydrated forms of gravy. I have yet to come across a premed gravy that comes close to homemade so the reality is, you have to make it yourself. It’s just the simple fact of the matter.
So I set out to perfect a gravy that I could make ahead of time.
Make ahead Gravy is a Game Changer for the Cook
Option 1: The “Day of” approach
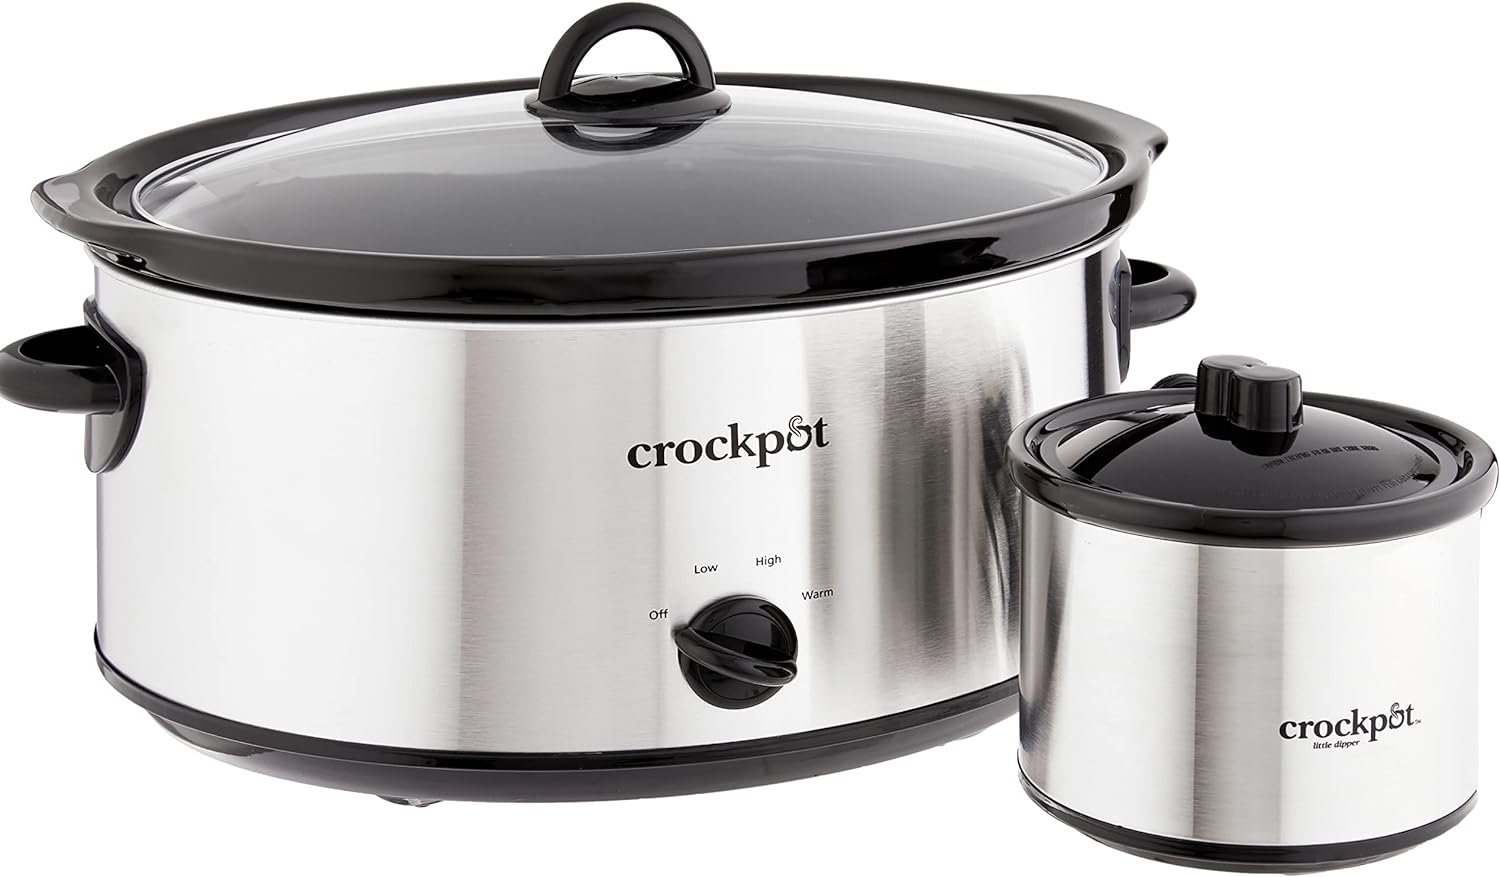
In the “Day of” approach to make ahead gravy, simply to make it ahead of time the day you are serving it. This is for those serious cooks who understand a Turkey should rest for at least two hours or more before attempting to carve and serve it. (Gordon Ramsay advises to rest a turkey for as long as it cooks and because he is the world’s most recognized and decorated Chef, I’m going to go with him on this and not my mother’s approach of oven to table!) While the turkey or chicken is resting, this gives you plenty of time work with the drippings and make a gravy and keep it warm until time to serve. I this case, I recommend a mini slow cooker. It works perfectly for keeping the gravy hot for hours.
Option 2: The “Make Ahead” gravy approach
I often make gravy weeks in advance so I don’t need to worry about it at all on the big day. It does take advance planning and some effort, but the results are worth it. Here is how you do it:
Step 1- Advance Roasting for Drippings
Up to 3 months in advance, roast a whole chicken, chicken parts, a turkey or turkey parts. The goal here is to collect as many droppings as possible so a turkey breast or white meats parts are not what you want to use here- you need a whole bird or dark meat to produce a good amount of delicious drippings. (Plan a meal around your roasting, but reserve the drippings because that is what we are after. I usually make chicken salad, sandwiches or soup with the meat.)
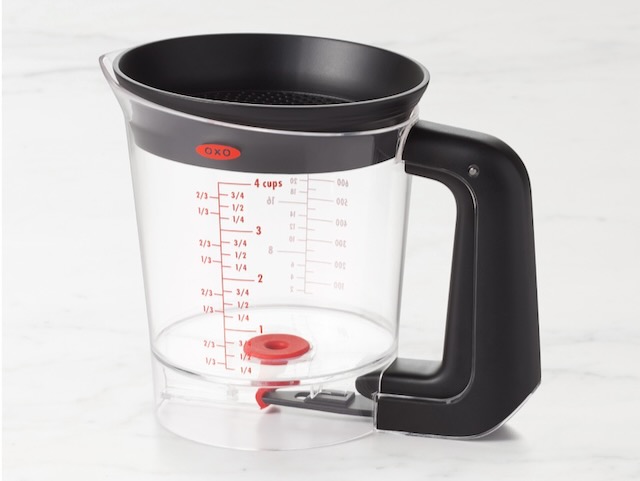
Step 2- Strain the Drippings
Pass the drippings through a sieve to produce a clean liquid, free from bits and pieces that have no business in our gravy.
Step 3- Separate the Drippings
If you have a gravy separator, now is the time to use it to remove the fat and then portion out your drippings. If you do not have a separator, refrigerate the drippings in glass. After the drippings set, the fat will rise to the top and harden. I leave it overnight. Skim and discard the fat layer. The drippings will have hardened and become gelatinous. Separate the drippings in 1/4 cup portions, or any portion you choose.
Step 4- Make & Freeze Gravy
You have a choice to either freeze the drippings so they are ready to make the gravy when you want to. Or, make the gravy entirely and then freeze. If you are going to make the gravy to freeze, follow this recipe:
Step 5- Reheating
Defrost in the refrigerator 1-2 days in advance of using. When ready to serve, place the gravy in a small sauce pan. The gravy will hold the shape of the storage container. Don’t panic! This is right. Reheat the gravy slowly, over a low heat. Once it starts to break down and loosen up, you can use an immersion blender or simply continue to whisk- it will return to its proper consistency. Once hot and silky smooth, it is ready to serve.
Pro Tip!
Clear off your stove top and set your gravy aside until ready to serve by using a mini slow cooker, typically used for dips and fondue. It keeps the gravy nice and hot for hours. Simply make the gravy 30 min to an hour in advance of needing it and then I transfer it to the mini pot.

Make-Ahead Gravy
Ingredients
- 4 tablespoons Strained chicken or turkey drippings – or up to 1/4 cup depending on how savory you like the gravy
- 2 cups of good quality Turkey or Chicken stock
- 1 Tbsp cold water
- 2 Tbsp Corn Starch
- Salt & Pepper to taste.
Instructions
- Add 2 tablespoons (or up to 1/4 cup depending on how savory you like the gravy) to a small sauce pan and heat until liquified.
- Add 2 cups of good quality Turkey or Chicken broth and bring to a gentle simmer.
- Meanwhile, in a small cup or ramekin make a corn starch slurry by combining 2 Tbsp cold water and 2 Tbsp of Corn Starch and mix until smooth. Whisk the cornstarch mixture into the hot liquid.
- Stirring constantly, bring to a gentle boil for one minute.
- Season with Salt & Pepper to taste.
- Let it cool completely and freeze. It will become gelatinous.


