When I have guests over or need to bring a dish to party, there are about a zillion reasons why I try to focus on cold cuisine. I think the mistake many people make is thinking that cold cuisine means a cold cut platter. And please don’t misunderstand, I love my Boar’s Head Deli meats! But sometimes you need to kick it up a notch a be a bit more fancy. I obviously enjoy cooking and truly enjoy eating hot food, but sometimes I just think cold, or room temperature food, is wiser choice. Here’s why….In case you’re interested in my reasoning!
When you bring hot food to a party and you don’t know what the host may have in their oven, you could throw a real monkey wrench into their food plans by taking up a shelf in their oven. It’s been done to me and I’ve done it to others!
Hot food gets cold- Quick! So the time to share it with guests is limited and then it just goes to waste unless you have a way to keep it warm. Not likely. And lets face it, not all food works well in a steam tray so its not always a solution. (Has any ever really had a crispy buffalo wing out of a steam tray…(Sigh) another pet peeve for another day!)
Another great benefit of serving cold food is that it can be prepared and plated ahead of time with ease, which means less stress during the party.
And the #1 reason for avoiding hot foods during a party is that you don’t need to be in the kitchen while you’re guests are in the living room! I aim to not have much cooking to do when guests are over. Everything can be set up for when guests arrive or simply taken out of the fridge, already plattered and its done! Now everyone, including the host, can enjoy the event.
Some of my Favorite Cold Cuisines Dishes
- Tomato & Mozzarella platter
- Pasta Salads
- Tomato Salald
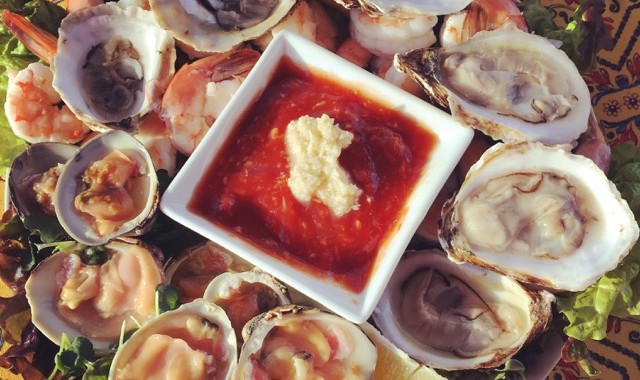
- Shrimp Cocktail
- Tea Sandwiches
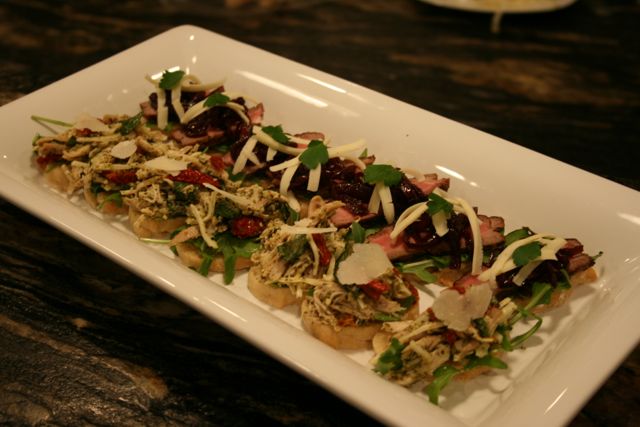
- Assorted Bruschetta
- Smoked Salmon
- Ham & Swiss Sliders
- Antipasti Kabobs