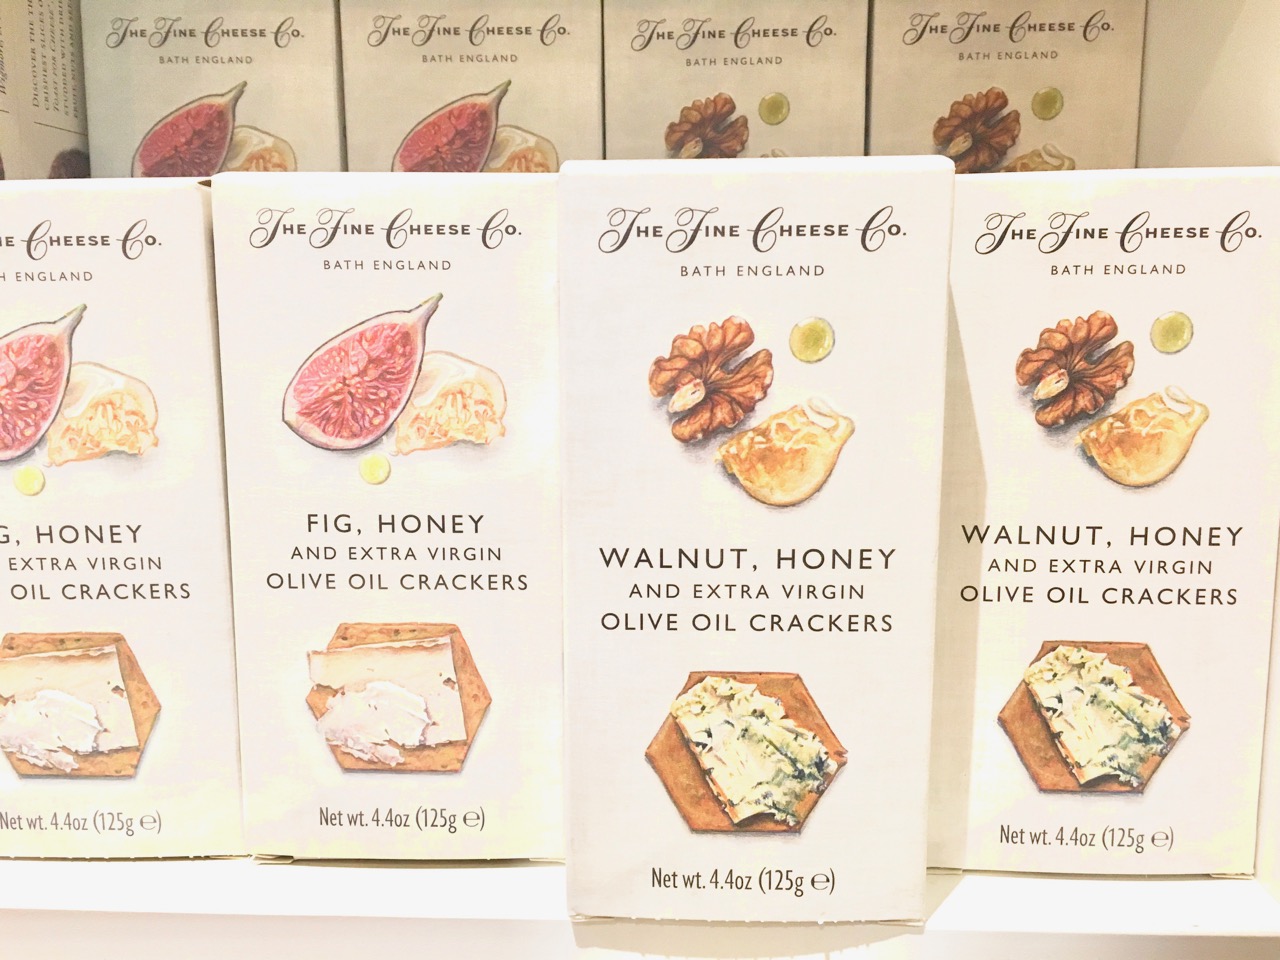
[vc_row][vc_column][vc_custom_heading text=”Where Feast & Merriment abounds” font_container=”tag:h2|text_align:left|color:%23e69b10″ use_theme_fonts=”yes”][mk_dropcaps style=”fancy-style” background_color=”#727272″]T[/mk_dropcaps][vc_column_text css=”.vc_custom_1539276684447{margin-bottom: 0px !important;}”]apas is my favorite style of eating. Small plates of deliciousness of all kinds intended to share- what could be better? On any given Sunday, you can find me at Barcelona in Stamford, CT with a bottle of Rioja and surrounded by cured meats, cheeses and tapas. And I will stay there all-day-long.
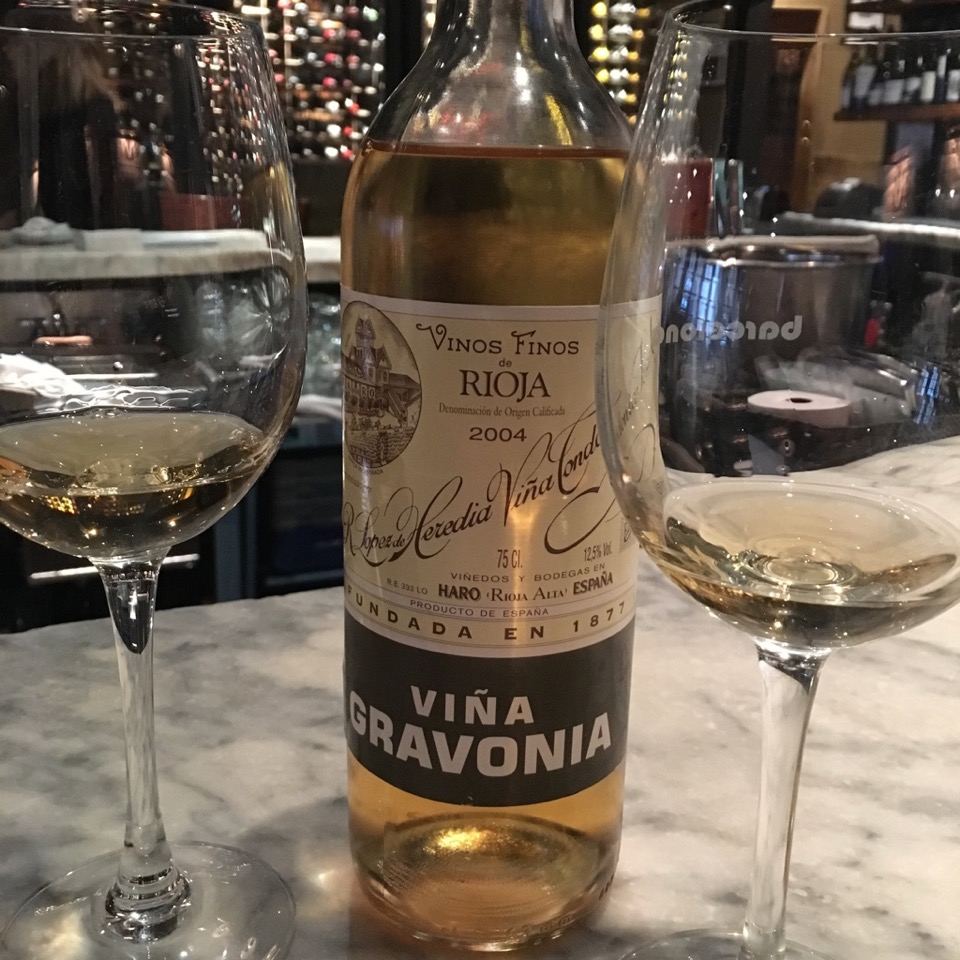 I actually love Barcelona on any day or night of the week, but Sundays is my personal favorite because their wine list is 50%. What makes this deal even sweeter is that Barcelona has the best wine list of any restaurant in the area. At most other restaurants the problem is which wine to choose because they are all mediocre and highly overpriced, even at 50% off! Here, the problem I run into is which one not to choose. The wine at Barcelona is well curated and it does not go unnoticed.
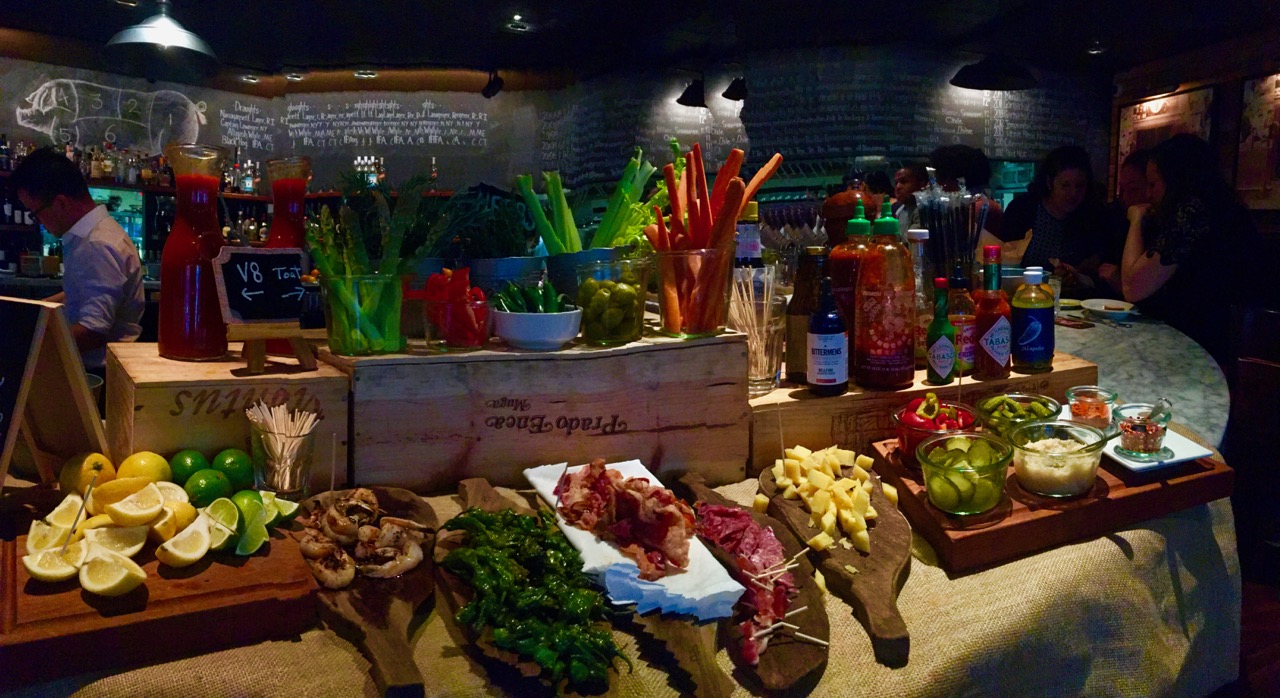
Okay, enough about wine. Lets talk about the food. The menu has a few consistent items that you can always count on like the manchego and jamon croquettes and the meatballs, but they change the menu frequently with the seasons and this keeps it interesting for us regulars. The food here has never disappointed me and I’ve eaten here well over 30 times.[/vc_column_text][/vc_column][/vc_row][vc_row][vc_column][vc_media_grid element_width=”6″ initial_loading_animation=”none” grid_id=”vc_gid:1539809173864-68638fdc-f504-4″ include=”2809,2813″][vc_column_text css=”.vc_custom_1523045914292{margin-bottom: 0px !important;}”]Barcelona is a great place to go with friends, on a date or even by yourself if you are like me and like to saddle up to the bar. It’s also a fantastic spot for Sunday brunch with unequivocally the best Bloody Mary bar in town. (Brunch is served Saturday & Sunday.)
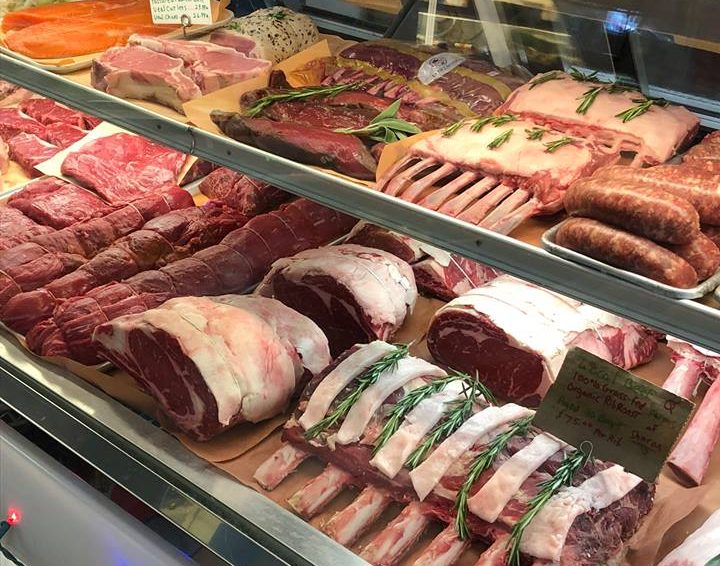
I recommend Barcelona for anyone who enjoys great Mediterranean inspired tapas food, mainly with origins from Spain, excellent wines and sherry’s, and a lively, yet rustic, ambiance. The only downside to Barcelona is the same as everywhere in Stamford- the parking isn’t great, but if you take an Uber your night just got better with door to door service![/vc_column_text][/vc_column][/vc_row][vc_row][vc_column][vc_custom_heading text=”Recommended for:” font_container=”tag:h2|text_align:left|color:%23e69b10″ use_theme_fonts=”yes”][mk_custom_list style=”mk-icon-ok”]
- Bloody Mary Bar: You won’t find a better one around.
- Sunday Wine Down: 50% off bottles all day on Sunday.
- The Food: The food is fantastic.
[/mk_custom_list][mk_button dimension=”flat” corner_style=”rounded” size=”large” url=”https://www.barcelonawinebar.com/location/stamford/” target=”_blank” align=”center” bg_color=”#e69b10″ btn_hover_bg=”#4c4c4c” btn_hover_txt_color=”#ffffff”]Visit Barcelona’s Website[/mk_button][/vc_column][/vc_row][vc_row][vc_column][vc_masonry_media_grid initial_loading_animation=”none” grid_id=”vc_gid:1539809173866-c6f6b4c7-244e-3″ include=”2814,2817,2812,2813,2811,2818,2810,2807″][/vc_column][/vc_row][vc_row][vc_column][/vc_column][/vc_row]

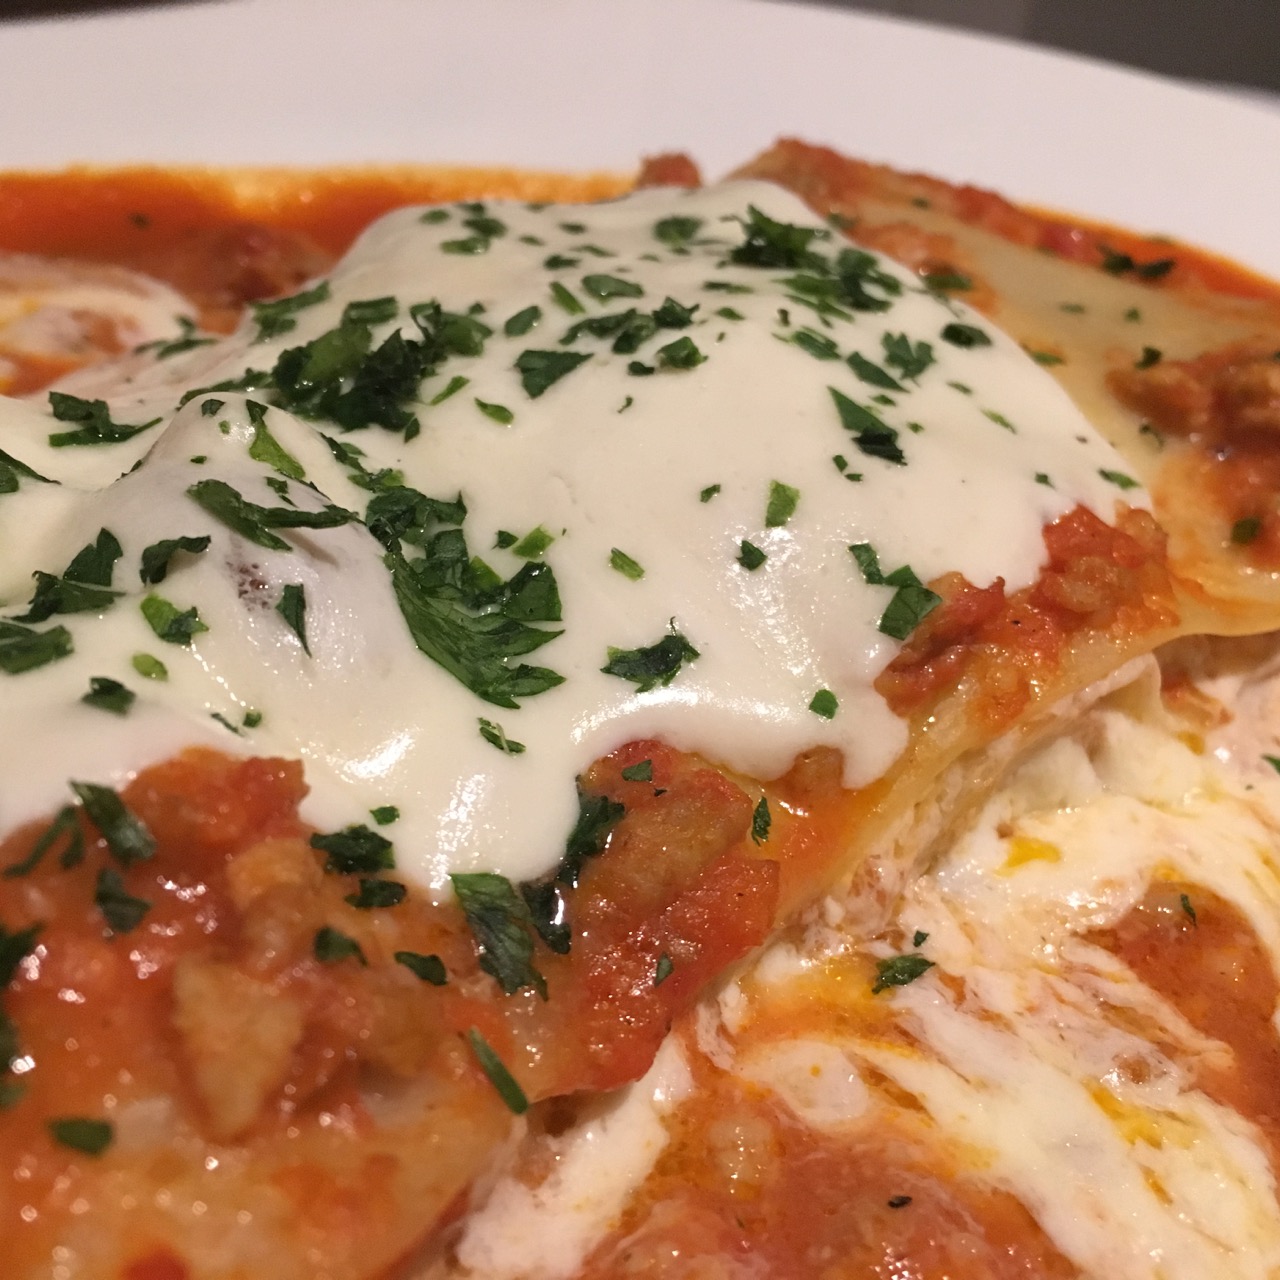
 My first attempt to go to Cafe Silvium was a total failure. I was scheduled to meet some friends for dinner and someone suggested we try Cafe Silvium. I checked out the reviews and decided I was excited to try it. It was a Monday night, we were 4 people, and no one stopped to think we would need a reservation. Ummmm…. we were wrong! We arrived and found out quickly that not only did we need a reservation, but they literally couldn’t seat us all night! This is not an uncommon situation- it turns out they have a full house on most nights. The staff were so polite and told us they hoped we would return soon. Unfortunately, we ended up at a sub-par Italian restaurant down the street from Cafe Silvium and depressed. We wanted what we couldn’t have! (But at least we had each other. Shout out to my BFFs!)[/vc_column_text][mk_blockquote font_family=”none”]In Italy you are taught how to savor simplicity and embrace hospitality. This is also true at Cafe Silvium.[/mk_blockquote][vc_column_text css=”.vc_custom_1544743434842{margin-bottom: 0px !important;}”]What happened next? Well, I came home with my mind swirling with the images and smells of Cafe Silvium. I knew I wouldn’t rest well until I experienced what all the fuss was all about. So I woke up the next morning, waited patiently until they opened, and promptly called to make a reservation! That Thursday at 8:30pm, I walked in and I knew I had found it, finally. The best local Italian restaurant. Cafe Silvium serves homemade, well made, delicious, classic Italian food. And I love it.